Here are some resources on how to take apart a computer monitor and extract the LCD screen. I have attempted this with a 2006 15″ Macbook Pro, an Acer 17″ V173 external monitor, and a 17″ Dell E173FP external monitor. Each time I learned a little something about this process (mostly through epic failure); the purpose of this post is to share some of this wisdom so that other people attempting the same thing can do a little bit less Google-ing:
Tools you need:
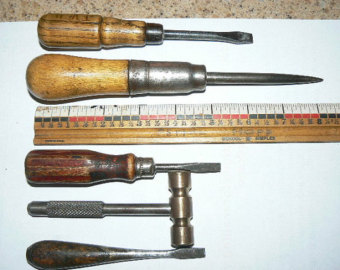
I did this with a Phillips-head screwdriver and an flat headed awl, which is what you’ll need to pry apart the plastic bezel from the rest of the frame. Like these:
Macbook Pro:
- First, you should know that only Apple hardware works with Apple hardware so in order to power the LCD you’ll either have to use the existing hardware inside the laptop, or if that is busted, find some other Apple logic board to connect it to.
- If you are going to try and buy a new LCD controller board (one of these) that is compatible with an Apple screen, there is one model that I found that supposedly, possibly, is compatible (but they don’t come right out and say it).
Here are the tutorials I used to do this, and related documentation:
http://www.ifixit.com/Guide/Installing+MacBook+Pro+15-Inch+Core+Duo+Model+A1150+LCD+Panel/1196/1 (AWESOME)
http://www.ifixit.com/Device/MacBook_Pro
Acer Monitor:
- It is not immediately apparent how to get at the screws to disassemble the plastic casing. The service manual specific to this model will tell you step-by-step what to do, but it looks like the link to the free PDF is currently broken (weird, it worked 2 days ago) There is another site that seems to host free PDF service manuals, but I’m 15 pages deep into the list of Acer manuals and still haven’t located this model number. Worth a try: http://mypdfmanuals.com/brand-ACER
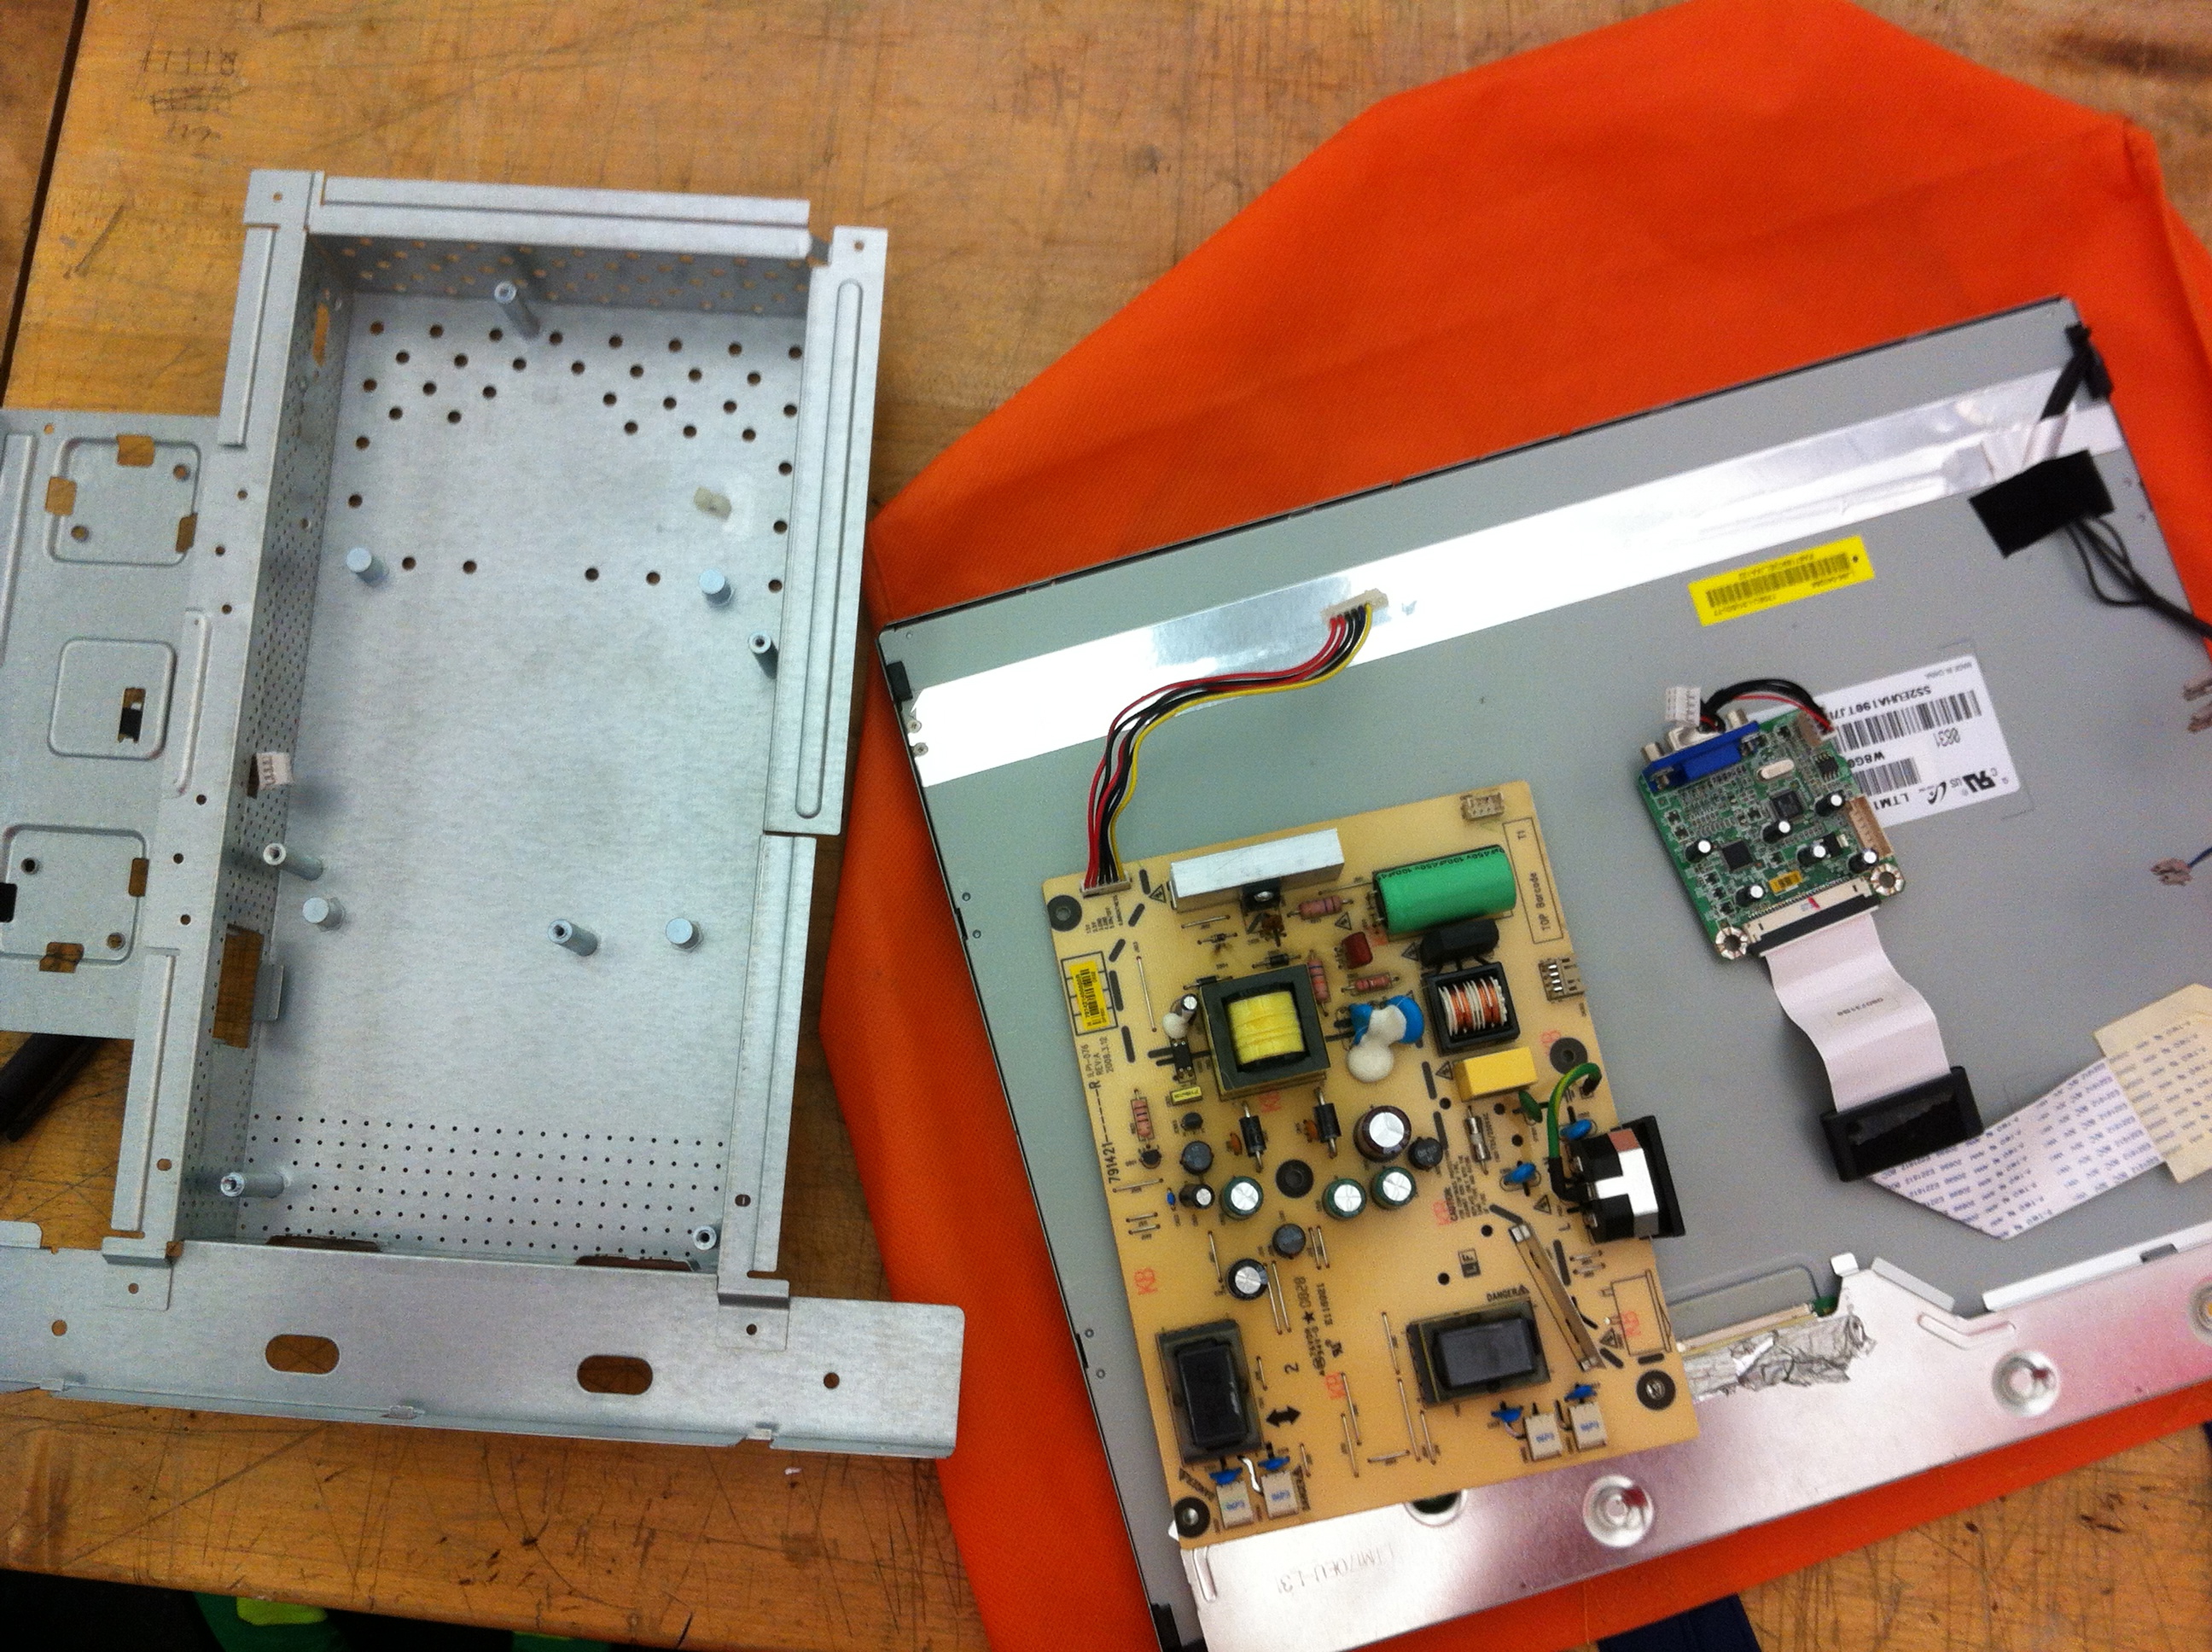
- Plugging the lamp connectors back in
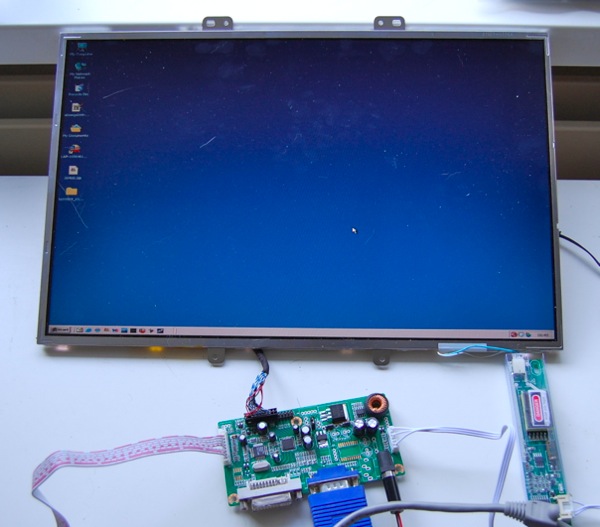
 I read somewhere that it actually doesn’t matter whether you plug the red/blue cables back in in the same order. When I plugged them in, it seemed like I wasn’t pushing them far enough into the socket, except I couldn’t get them in any farther. It might have just looked like they weren’t in all the way because there was no metal case to cover up part of them.
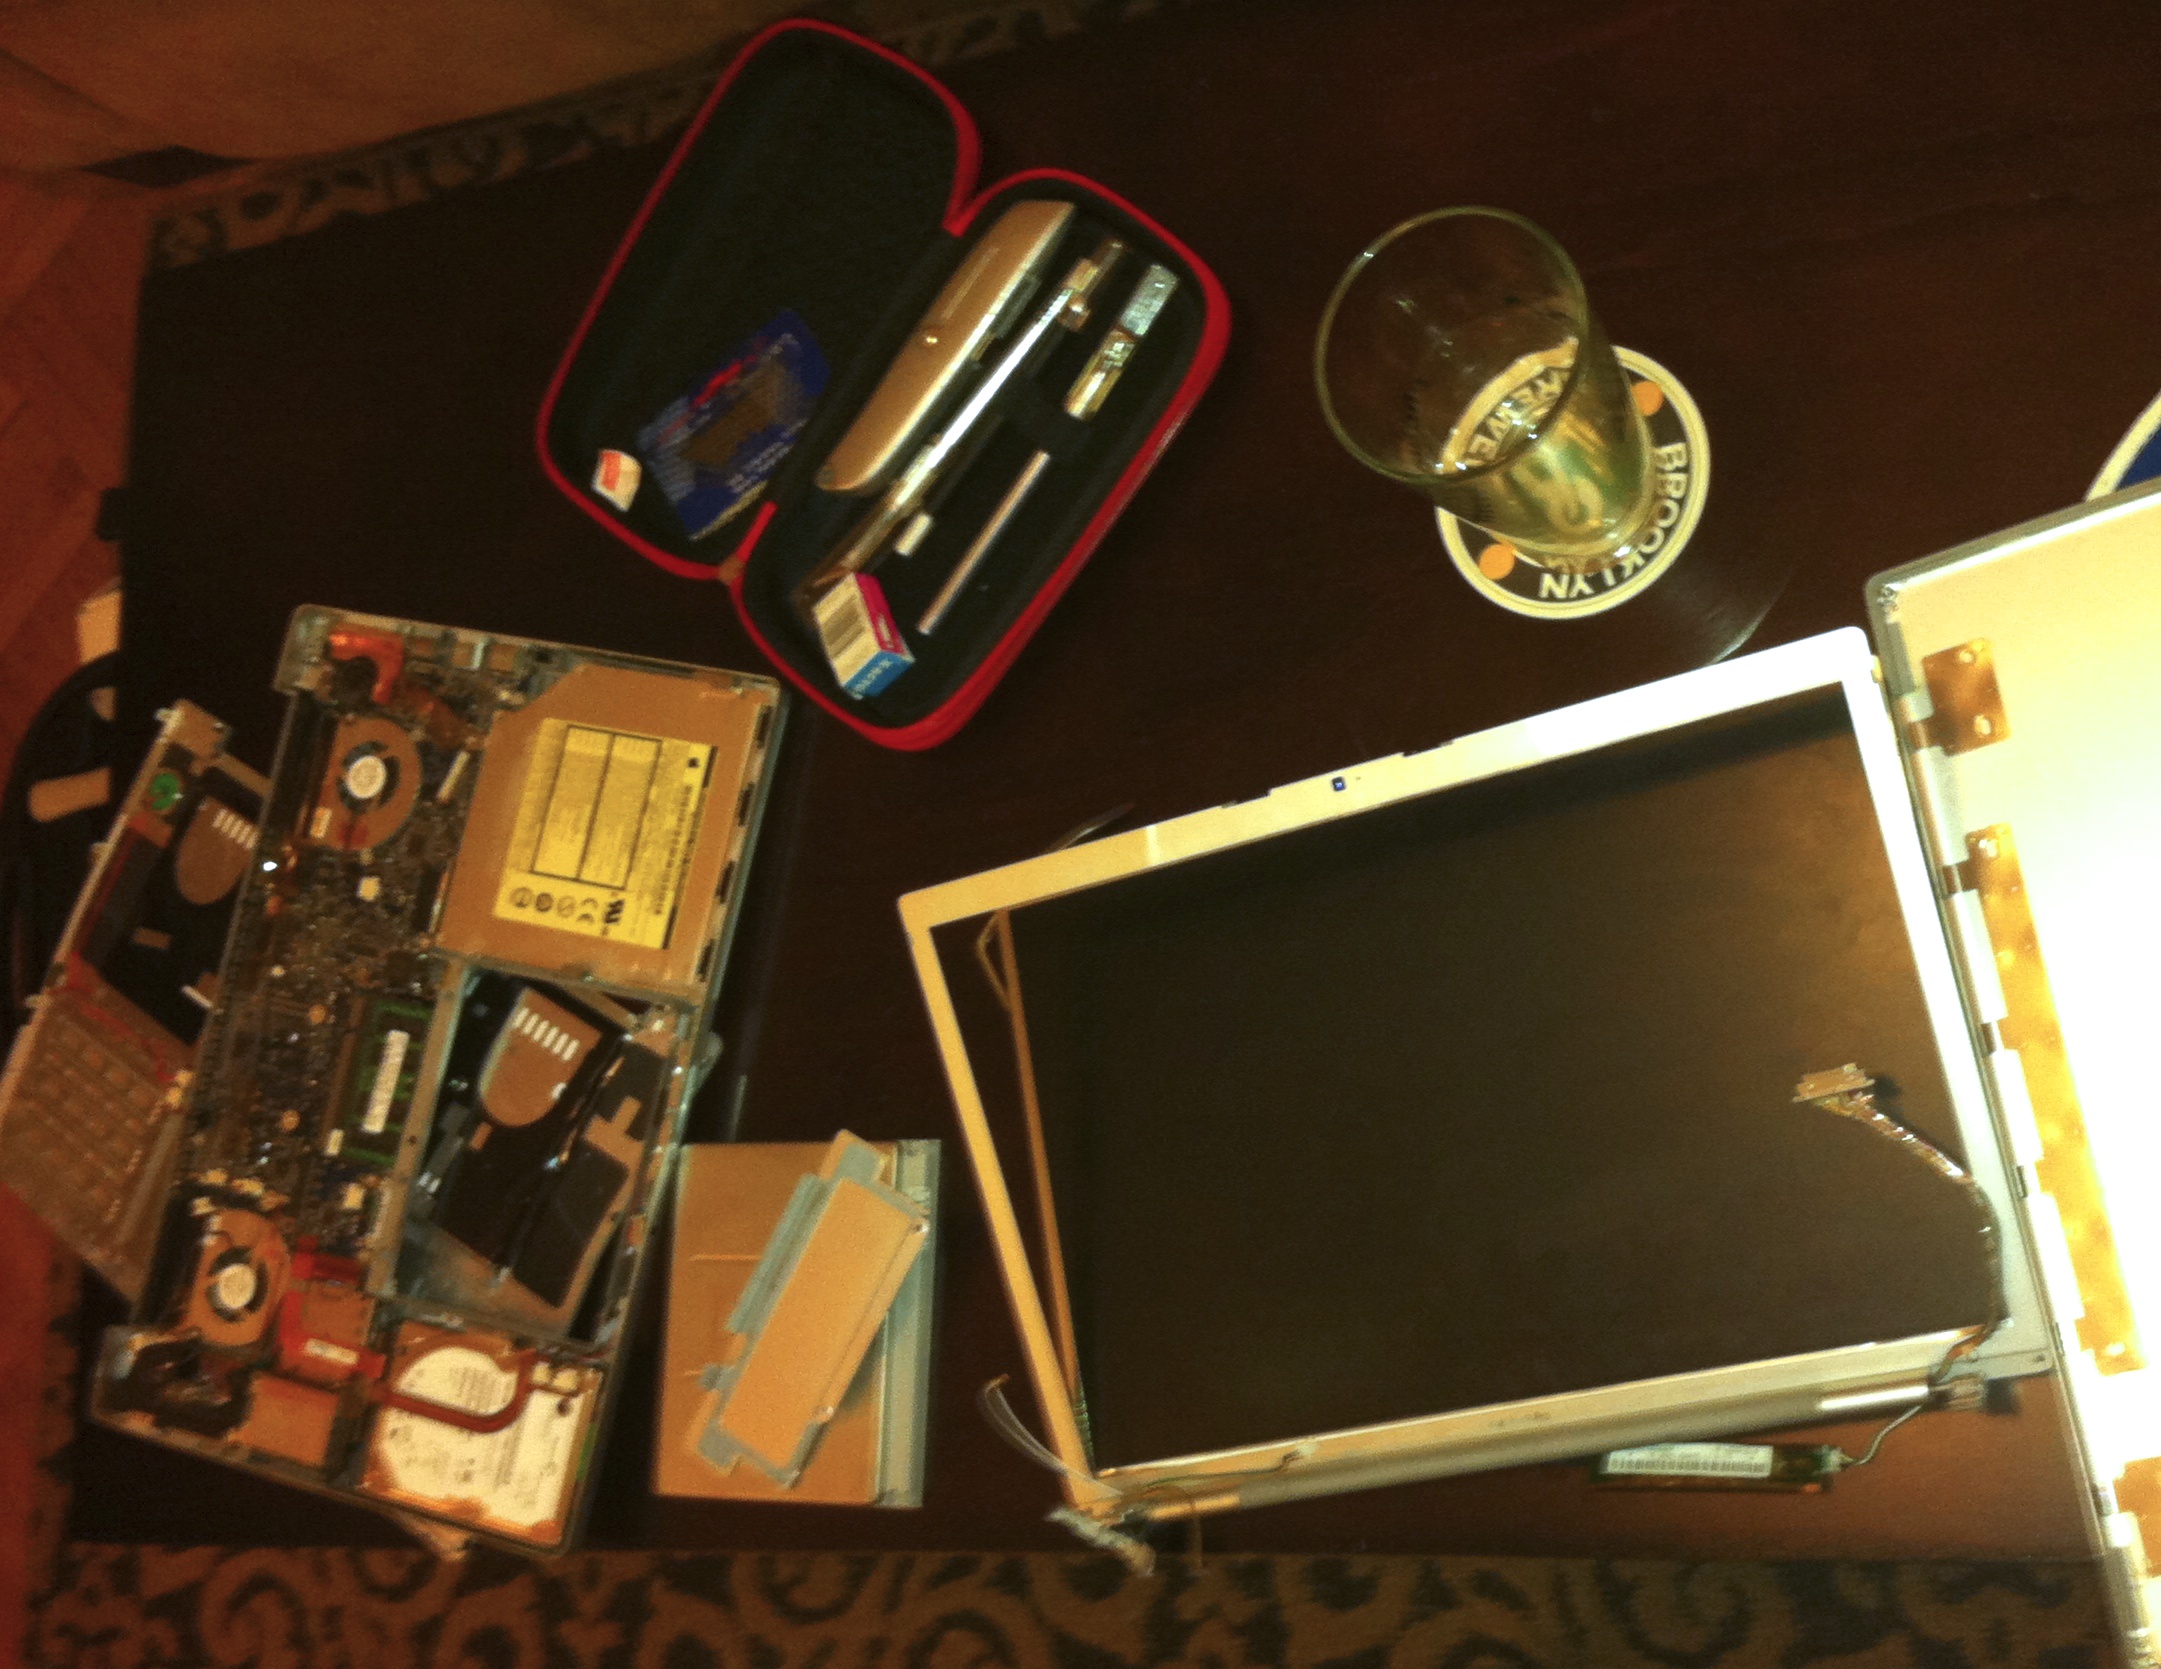
 - VERY IMPORTANT: When you are ready to power the components, make sure you are NOT doing what I’m showing in the above picture! I’m pretty sure that resting the boards on top of the metal backing of the LCD screen caused a short that blew out one of the resistors on the board. Dangerous!
- It is possible to remove the metal rim from around the LCD. Use the same technique as you used to get the plastic bezel off–basically try to unhook the little snaps that couple the front and back panel of the metal casing together.
- Once this is removed, you can *carefully* lift the LCD screen away from the backlight. Do this by grabbing one of the red transparent tabs that are sticking out along the side and lifting. Notice that the screen is attached to the base on one end (with more transparent red tabs) so don’t tear that off.
- The backlight for this screen comes from a fluorescent blub. These contain mercury, so be careful. The bulb(s) are hidden beneath the white plastic layer underneath the LCD panel, so you won’t see them even if you lift the LCD screen off.

General tips:
Removing the plastic case
The only way to remove the plastic bezel frame from the back part of the plastic casing is to pry it of with the awl, or some other slim-but-sturdy piece of metal that you can wedge in there. This took me about 10-15 minutes. Be prepared to take small gouges out of the frame, at least until you get the magic touch. The trick is to wedge the awl in the crack and try to lift the back part of the frame up and over the front plastic bezel. These parts are held together with little plastic snaps that inter-lock, so lifting up is the best way to pop them out.
Take care not to stick the awl into the groove between the LCD itself and the plastic bezel. This is tempting because there is a much bigger groove here than along the edge, but take it from me, you’ll crack your screen.
Once you get the plastic bezel loose, pry that off, away from the larget back part. Be careful, sometimes there are a few wire tucked in there (usually for the buttons on the front of the screen).
Removing the metal case:
This step is pretty straightforward because the screws tend to be easily visible/accessible. Be careful when removing this part too, though–there’s a ribbon connecting the LCD to the inner boards and lifting the metal case (and the boards that are attached to it) off of the LCD will pull at that ribbon. You might have to flip it away from you so you can see the inside and manually unclip the ribbon so you can separate this part of the metal case completely.
Removing the board with the VGA adapter from the metal case
Note that the two metal screws that protrude on either side of the blue plug are secured with hexagonal nuts on the outside of the metal case. Loose those with a wrench and remove them. Them screw them back in once you’ve removed the board (so your adapter can plug into them later).
General info on LCD controller boards:
A company called NJY Touch in China seems to have the monopoly on this piece of hardware. They have many models that are compatible with various brands of LCD monitors. They sell this stuff via their Ebay store and will ship for free, if you want to wait 25-30 days. You can expedite it and get it in a week for ~$17.
I found a blog post from someone who successfully took apart an LCD screen and connected it to one of their controller boards, and he vouches for their legitimacy and success, and since he wrote this on the internet it must be true, right?
This is his project:
The NJY Touch website actually has some really good documentation and schematics on it (example: http://www.njytouch.com/RM5251C.htm ), as does the product detail pages of their Ebay store.
This seems like a promising LCD controller board all-in-one kit: http://www.ebay.com/itm/HDMI-VGA-2AV-Control-board-10-1inch-1280-800-B101EW05-V-1-ACER-A500-LCD-/181033615133#vi-content
General Resources:
Backlight repair: http://www.instructables.com/id/Laptop-backlight-repair/?ALLSTEPS
Interesting backlight mod: http://www.instructables.com/id/A-very-Simple-LCD-Backlight-Fix/step2/Cutout-back-of-LCD-monitor/
Very cool thesis project that uses LCDs (some good documentation on her thesis blog): http://www.instructables.com/id/Portals-A-Networked-Mixed-Reality-Playground/
Hope this helps somewhat!