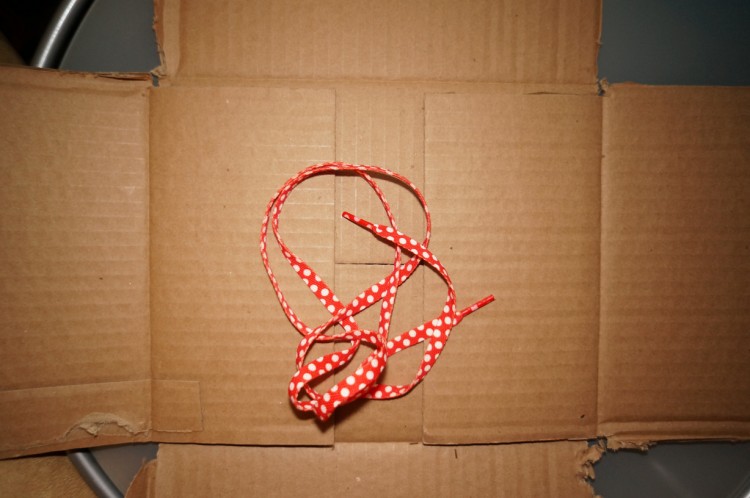
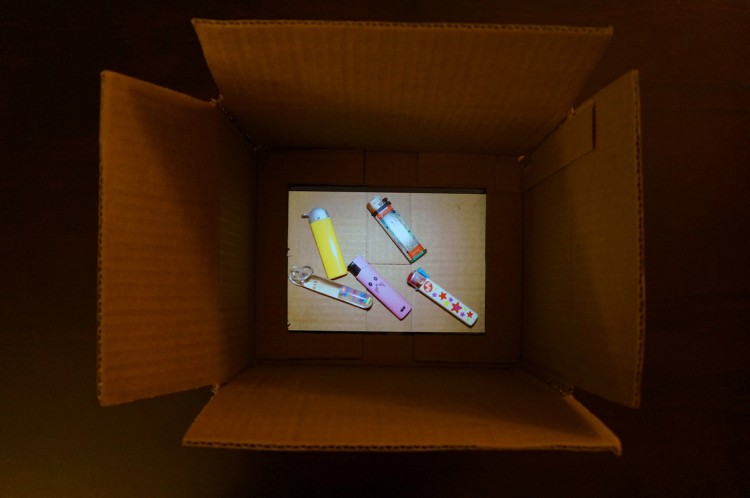
This time I cut the sides of the box down so that it could lay flat. This way, I could photograph things on the bottom of the box without getting the sides in the viewfinder.
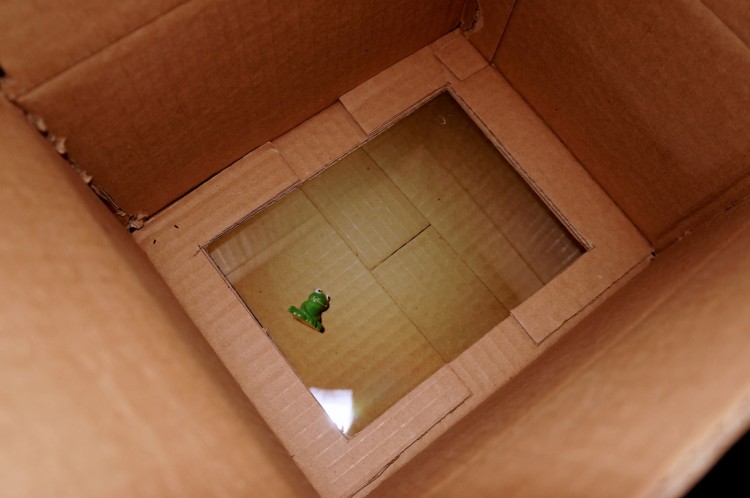
I then cut a hole out of the bottom of the box to match the size of my iPad screen. I aligned and cropped my images in Photoshop to toughly match the area that I cut out of the box. This didn’t turn out so well; I really need a tripod that can angle directly down so that each photo is extremely consistent.
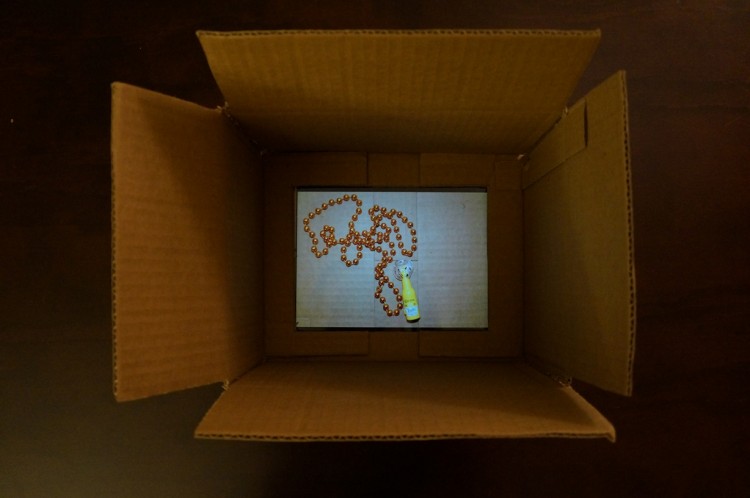
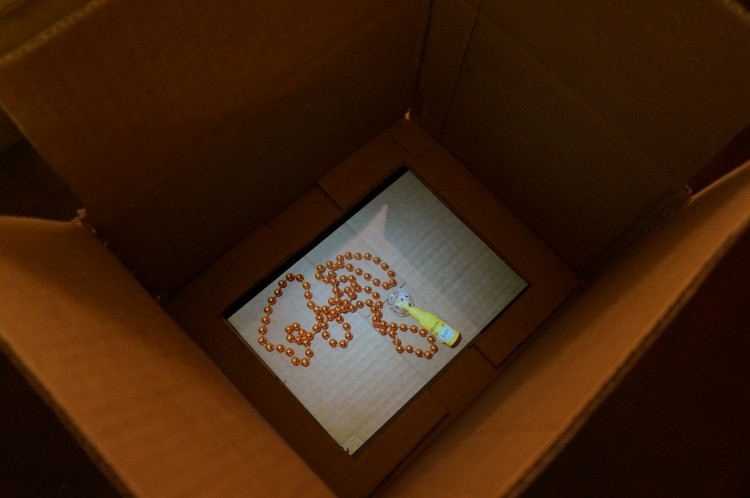
I placed the iPad underneath my box and lined up the edge of the base with the photograph as best I could.
This version is definitely closer to what I had in mind, but I don’t like how the inner edge of the box’s bottom makes it look like a cardboard iPad picture frame. I really wish the entire base of the box were a screen.
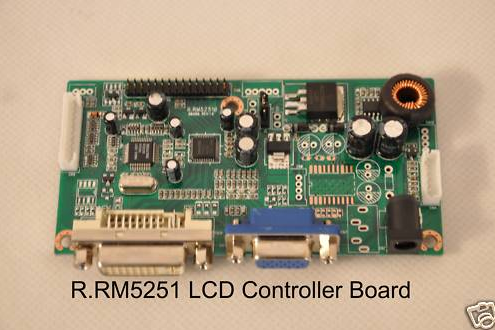
To that end, I began researching how to disassemble the LCD screen from my old Macbook Pro. I found plenty of resources on how to do this, but unfortunately, Macs are incompatible with anything other than Macs, so VGA adapters like this one wouldn’t allow me to re-use the screen by connecting it to another computer.
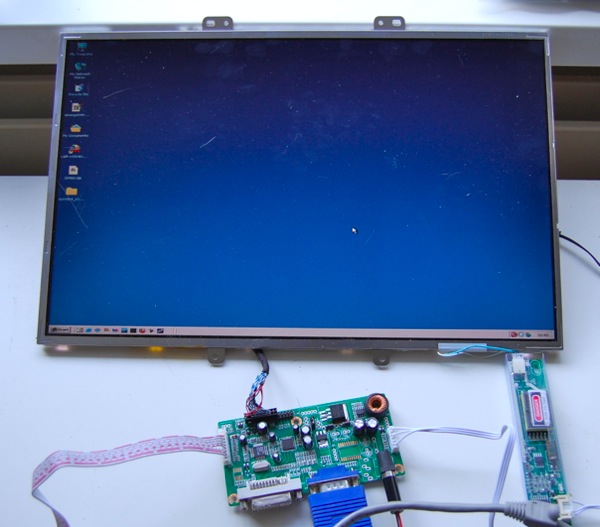
Apparently it’s “easy” to do this with a non-Mac monitor… this guy did it (but doesn’t tell you how)
What I like about the LCD screen solution is that it’s flat, matte, and almost rimless. I’m looking into modding a regular old digital picture frame to suit my needs. If that doesn’t prove fruitful I might stick with the iPad and construct a custom box, perhaps with two layers or something, that can hide the iPad rim.
